
Quick Start
Get Erugo up and running in just a few minutes. This guide covers the simplest setup — perfect for trying out Erugo locally or on your home network.
Make sure you have Docker installed before continuing.
Step 1: Create a Directory
Create a new directory for your Erugo installation:
mkdir erugo && cd erugoStep 2: Create Docker Compose File
Create a docker-compose.yml file with the following content:
services:
  app:
    image: wardy784/erugo:latest
    restart: unless-stopped
    volumes:
      - ./erugo-storage:/var/www/html/storage
    ports:
- "8080:80"Erugo expects to have exclusive control of the storage directory you mount. On startup the container runs through several processes that may result in any existing files being permanently deleted.
Step 3: Start Erugo
Start the container with Docker Compose:
docker compose up -dDocker will download the image and start the container. This may take a minute on first run.
Step 4: Access Erugo
Open your browser and navigate to:
http://localhost:8080 Or, if you're accessing from another device on your network, use your server's IP address:
http://YOUR_SERVER_IP:8080 Step 5: Complete Setup Wizard
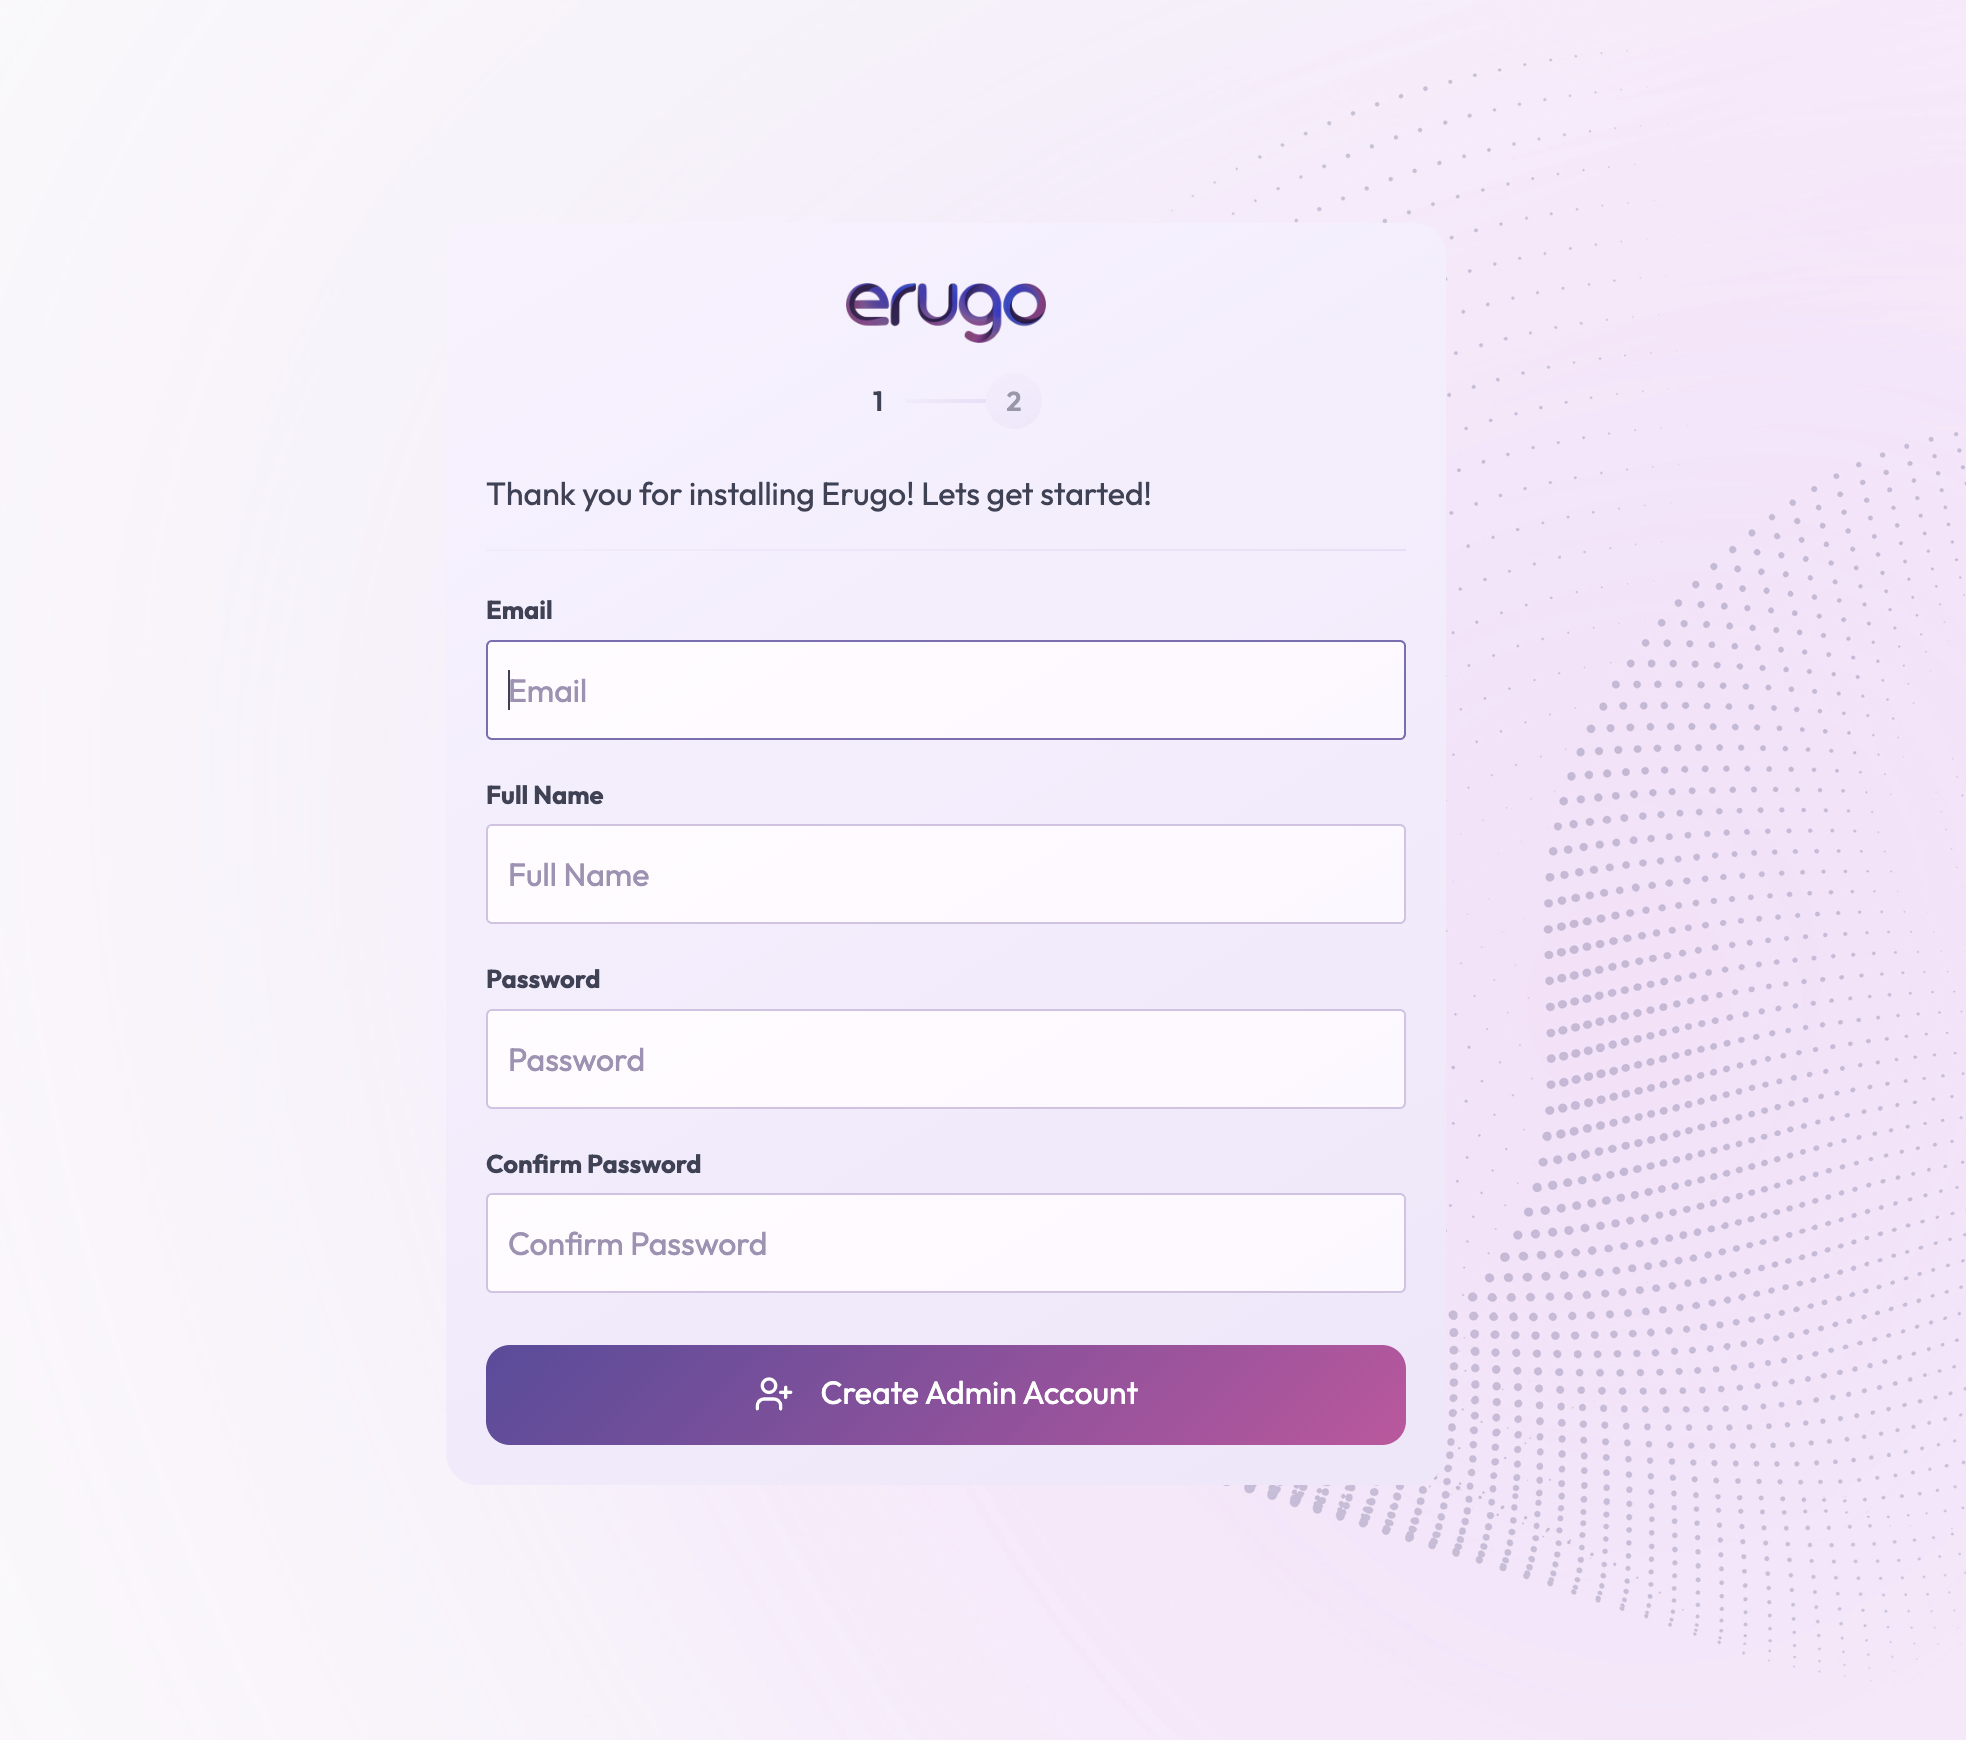
On first access, you'll see the setup wizard. This guides you through:
- Creating your admin account — Set your email and password
- Basic settings — Configure application name and URL
- Branding (optional) — Upload a logo and choose a theme
After completing the setup wizard, you can start sharing files immediately. Upload files, create shares, and send links to recipients.
Managing Erugo
View Logs
To see what Erugo is doing:
docker compose logs -fStop Erugo
To stop the containers:
docker compose downUpdate Erugo
To update to the latest version:
docker compose pull
docker compose up -d
What's Next?
Now that Erugo is running, you might want to:
- Set up a reverse proxy — Add HTTPS and a custom domain for secure public access
- Configure email — Enable notifications for share events
- Customize branding — Add your logo and choose a theme
- Set up backups — Protect your data with regular backups
- Explore all settings — Learn about every configuration option