Erugo allows you to customize the appearance of your file-sharing platform by selecting different themes. This guide will walk you through the process of changing your theme to match your preferences or branding requirements.
Prerequisites
- You must be logged in to your Erugo instance with administrator privileges
- Your Erugo instance must be properly set up and running
Step-by-Step Instructions
1. Navigate to your Erugo instance
Open your web browser and go to your Erugo URL
(e.g., https://erugo.yourdomain.com).
2. Access settings
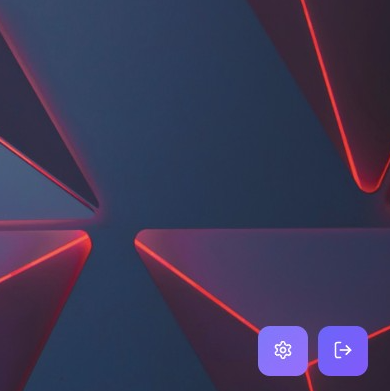
Locate and click on the settings icon (gear/cog symbol) in the bottom right corner of the screen.
3. Open Branding & UI settings
In the settings menu, click on the "Branding & UI" option. This will take you to the branding and user interface customisation section.
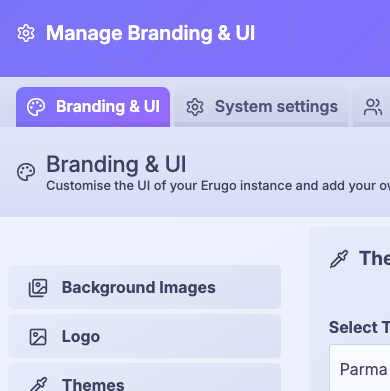
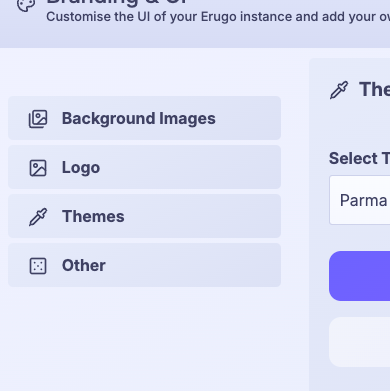
4. Navigate to Themes
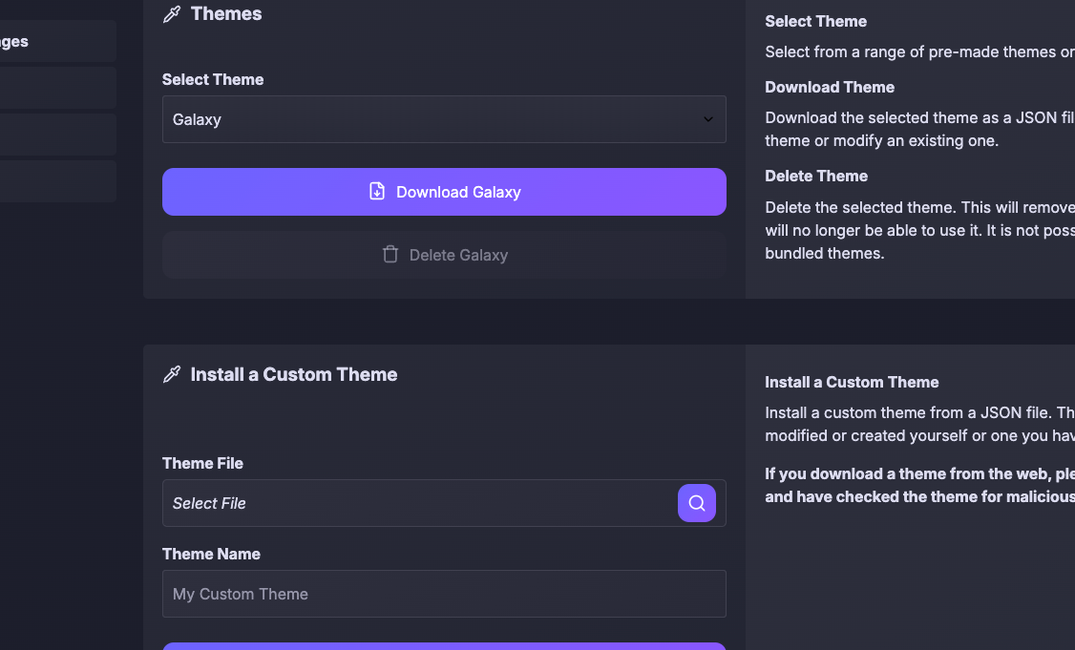
In the left sidebar of the Branding & UI section, click on "Themes" to access the theme selection options.
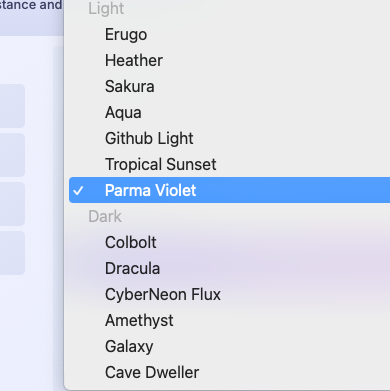
5. Select your desired theme
From the dropdown menu, select your chosen theme. Erugo comes with several pre-installed themes, and you may also have custom themes available if they've been installed.
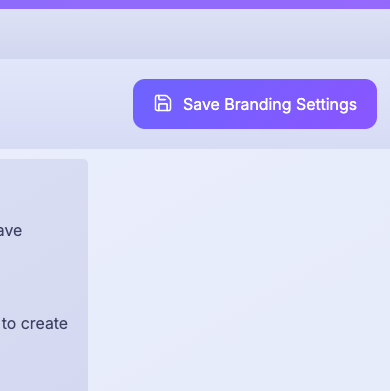
6. Save your changes
After selecting your preferred theme, click the "Save Branding Settings" button in the top-right corner of the screen to apply your changes.
Additional Theme Options
Downloading a Theme
You can download your selected theme as a JSON file by clicking the "Download [Theme Name]" button. This allows you to:
- Back up the theme configuration
- Use it as a starting point for a custom theme
- Share it with other Erugo installations
Deleting a Theme
If you want to remove a theme from your instance:
- Select the theme you wish to delete
- Click the "Delete [Theme Name]" button
Note: You cannot delete the active theme or bundled themes that come with Erugo.
Installing a Custom Theme
To install a custom theme:
- Scroll down to the "Install a Custom Theme" section
- Use the file uploader to select a valid Erugo theme JSON file
- Follow the on-screen instructions to complete the installation
Troubleshooting
- Changes not appearing: Try refreshing your browser or clearing your browser cache
- Theme not loading correctly: Ensure your theme file is properly formatted as per Erugo's requirements
- Cannot save changes: Verify you have administrator permissions and that your browser can connect to the server
Related Settings
While in the Branding & UI section, you can also customise:
- Background Images: Upload custom background images to replace the defaults
- Logo: Add your organisation's logo to personalise your Erugo instance
- Other: Additional branding options like hiding the "Powered by Erugo" text
By following these steps, you can easily customise the look and feel of your Erugo instance to align with your organisation's branding or personal preferences.